はじめに
※ MATLAB、Python、Scilab比較ページはこちら
https://www.simulationroom999.com/blog/comparison-of-matlab-python-scilab/
正直、私自身はScilabで画像処理することはほぼ無い。
調べたところ、IPCV(Scilab Image Processing and Computer Vision toolbox)というtoolboxをインストールするとOpenCVベースのAPIが使用できるようである。
よって、動作確認及び備忘録を残す。
前提:以下の画像を扱う。
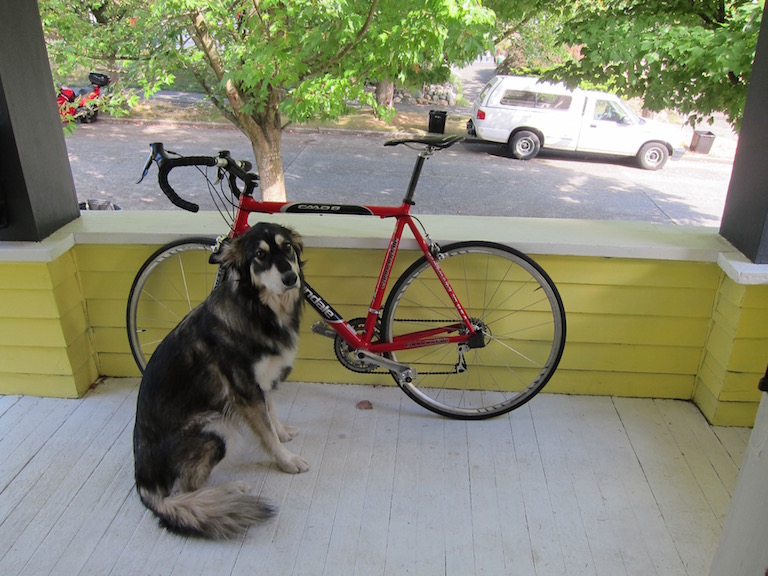
画像読み込み
-->im = imread('dog.jpg');画像表示
-->imshow(im);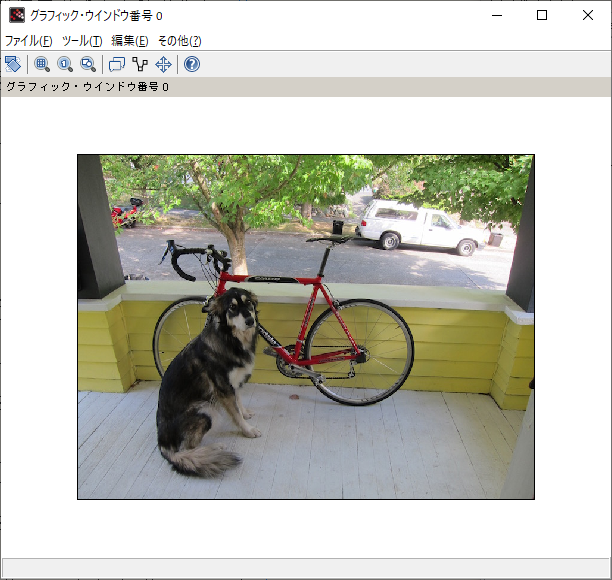
画像処理
色成分
ここでは赤の成分だけを抽出してみる。
つまり、緑と青の成分を0にする。
-->im(:,:,(2:3)) = 0;	# G(2番目)、B(3番目)の成分を0にする
-->imshow(im);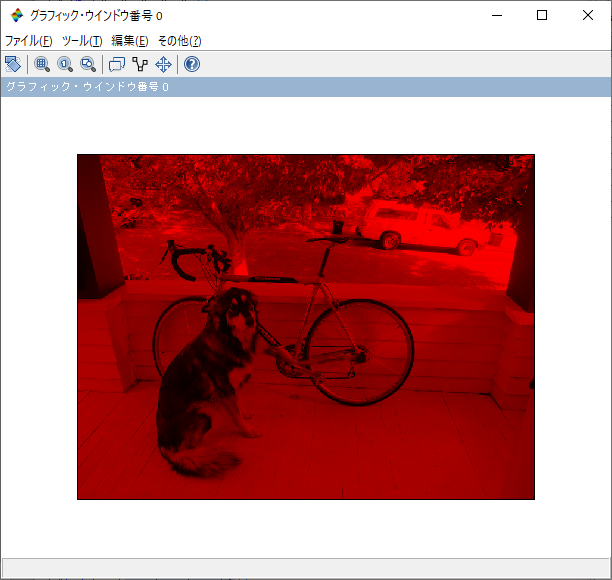
反転
-->im = im(:,$:-1:1,:);
-->imshow(im);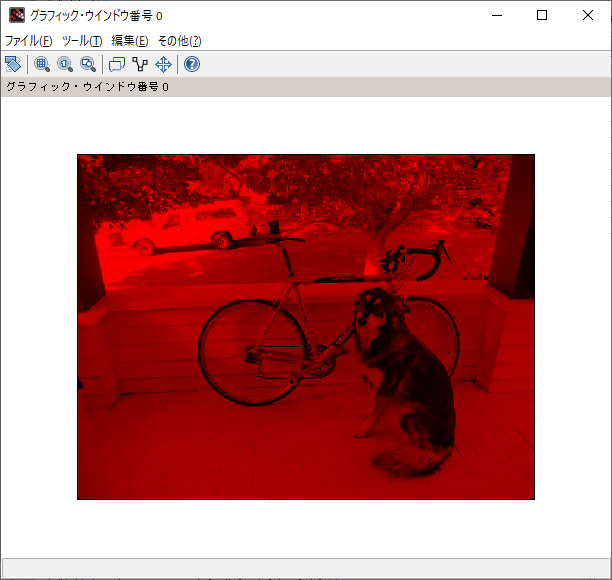
画像書き出し
-->imwrite(im,'dog2.jpg');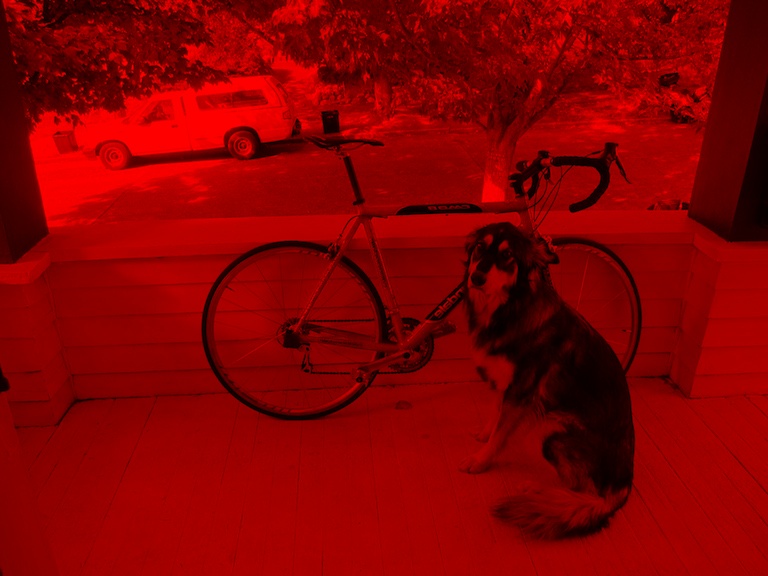
カメラキャプチャ
以下をcapture_camera.sceファイルとして保存する。
function capture_camera()
    avicloseall();
    n = camopen(0);
    while(1)
        im = camread(n);

        // そのまま表示
        b = imdisplay(im,'Press anykey to exit');
        if b == -1
            break
        end

        // 左右反転して表示
        b = imdisplay(im(:,$:-1:1,:),'Press anykey to exit.(Mirror)');
        if b == -1
            break
        end

    end

    avicloseall();
    imdestroyall

endfunction

capture_camera();
clear capture_camera;
execで実行。
capture_camera.sce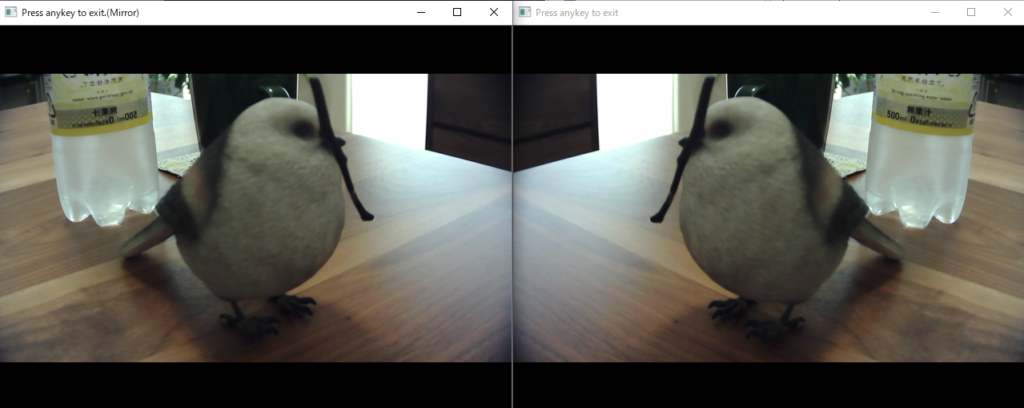
まとめ
Scilabで画像を扱うことは少ないが、演算したデータを画像として出力するのも面白いかもしれない。
※ MATLAB、Python、Scilab比較ページはこちら

コメント